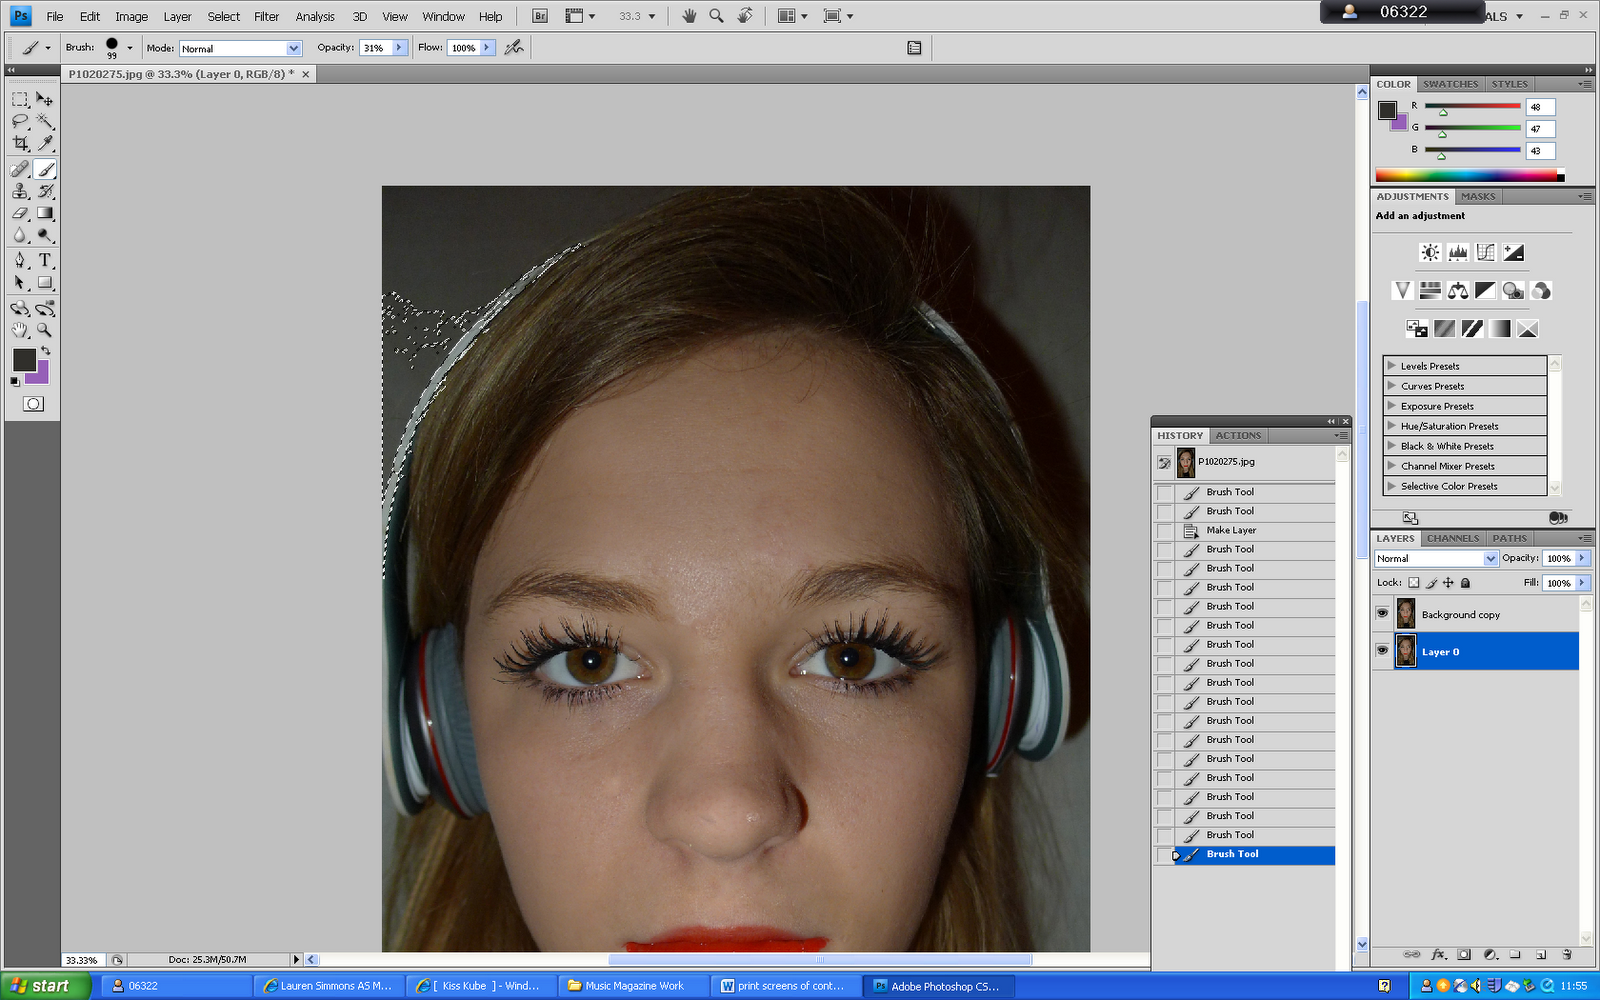
I firstly chose my picture that I wanted to use for my contents page. For this process of editing I used adobe photo shop as it can give me the best results that I need for my photo, and is the easiest programme for editing.
 To make sure my editing was done effectively I had to zoom in on her face so that I could clearly see what I needed to edit. When zooming on her face I found some blemishes on her face, such as on her chin and forehead, which I needed to remove on her face to give a clearer complexion.
I then added the picture to the page on the right hand side. I also had to make the writing on the left hand side come out more to the middle as there were empty spaces in the middle of the page which I could not fill with anything else. I thought this would fault my contents page however it didn't. I also had to make the background of my contents page to the background of the photo which proved a difficult task as it took me a while to find the exact same right colour, however by the end I found one which almost perfectly matched.

 To make sure my editing was done effectively I had to zoom in on her face so that I could clearly see what I needed to edit. When zooming on her face I found some blemishes on her face, such as on her chin and forehead, which I needed to remove on her face to give a clearer complexion.


No comments:
Post a Comment